Household equipment repair process
Repairing household equipment can vary widely depending on the type of appliance and the specific issue at hand. However, here is a general process you can follow when tackling household equipment repair:
1. Identify the Problem
- Symptoms: Determine what the appliance is doing (or not doing). Listen for unusual sounds, check for error codes, or notice any performance issues.
- Visual Inspection: Look for obvious signs of damage, wear, or blockage.
2. Consult the User Manual
- Manual Reference: Check the appliance’s user manual for troubleshooting tips, diagrams, and error codes specific to the model.
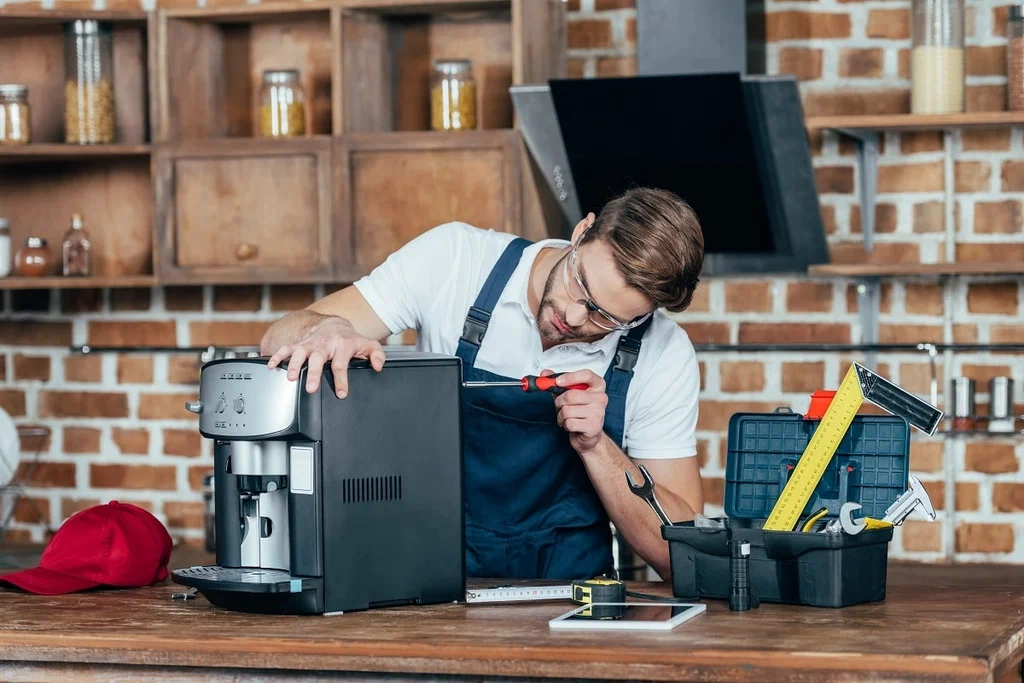
3. Gather Tools and Supplies
- Tools Needed: Common tools may include screwdrivers, pliers, wrenches, multimeters, and cleaning supplies.
- Replacement Parts: If you suspect a part is broken, identify and purchase the correct replacement part.
4. Unplug the Appliance
- Safety First: Always disconnect the appliance from the power source before beginning any repair work to avoid electrical shock.
5. Perform Basic Troubleshooting
- Power Supply: Check the power supply, outlet, and circuit breakers.
- Settings and Controls: Verify that the settings are correct and the appliance is in the right mode.
6. Disassemble (If Necessary)
- Remove Covers or Panels: Depending on the appliance, you may need to remove outer covers or panels to access internal components.
- Document the Process: Take photos or make notes as you disassemble to aid reassembly later.
7. Inspect Internal Components
- Look for Damage: Check for damaged wires, burnt components, clogs, or broken parts.
- Test Parts: Use a multimeter to test electrical components (like fuses, switches, and motors) for continuity and functionality.
8. Clean and Repair
- Cleaning: Clean any dirt or debris that may affect performance, such as dust from condenser coils or food particles in a dishwasher.
- Replace Parts: If you have identified a faulty part, replace it according to the instructions in the manual or the new part’s installation guide.
9. Reassemble the Appliance
- Follow Your Notes: Reassemble the appliance in the reverse order of disassembly, ensuring all screws and parts are securely fastened.
10. Test the Appliance
- Plug It Back In: Reconnect the appliance to the power source and turn it on to test its functionality.
- Observe Operation: Check if the appliance is operating correctly and if the problem has been resolved.
11. Final Checks
- Monitor Performance: After repair, monitor the appliance over the next few days to ensure it continues to operate properly.
- Clean Up: Dispose of any old parts and clean your workspace.
12. Know When to Call a Professional
- If you encounter a problem that is beyond your skills or if the appliance is still not functioning after your repairs, it may be time to contact a professional technician.
Important Safety Tips
- Read Safety Instructions: Always refer to the safety instructions in the user manual.
- Use Proper Gear: Wear safety glasses and gloves as needed.
- Avoid DIY for Certain Repairs: For complex issues, especially with gas or high-voltage appliances, it’s best to consult a professional.
By following this process, you can systematically troubleshoot and repair many common household appliances. Let me know if you need specific guidance for a particular appliance!